Respraying the ZSA Voyager
Respraying the ZSA Voyager keyboard, because life is too short for a single-colour keyboard.
Purpose
I recently decided to respray my ZSA Voyager after finding a great article by Jo Williams. She filed the whole experience under fun ways to void your ZSA warranty, but one of my Voyagers was bought second-hand over two years ago, so it’s most likely out of warranty anyway. So why not?
Disassembly
I used Jo’s walkthrough to take it apart, so I won’t go through every step, just a brief summary.
As you can see from the keyboard I started with, black attracts a lot of dust and grime after prolonged use (something I haven’t noticed on my white Voyager, at least at first glance).
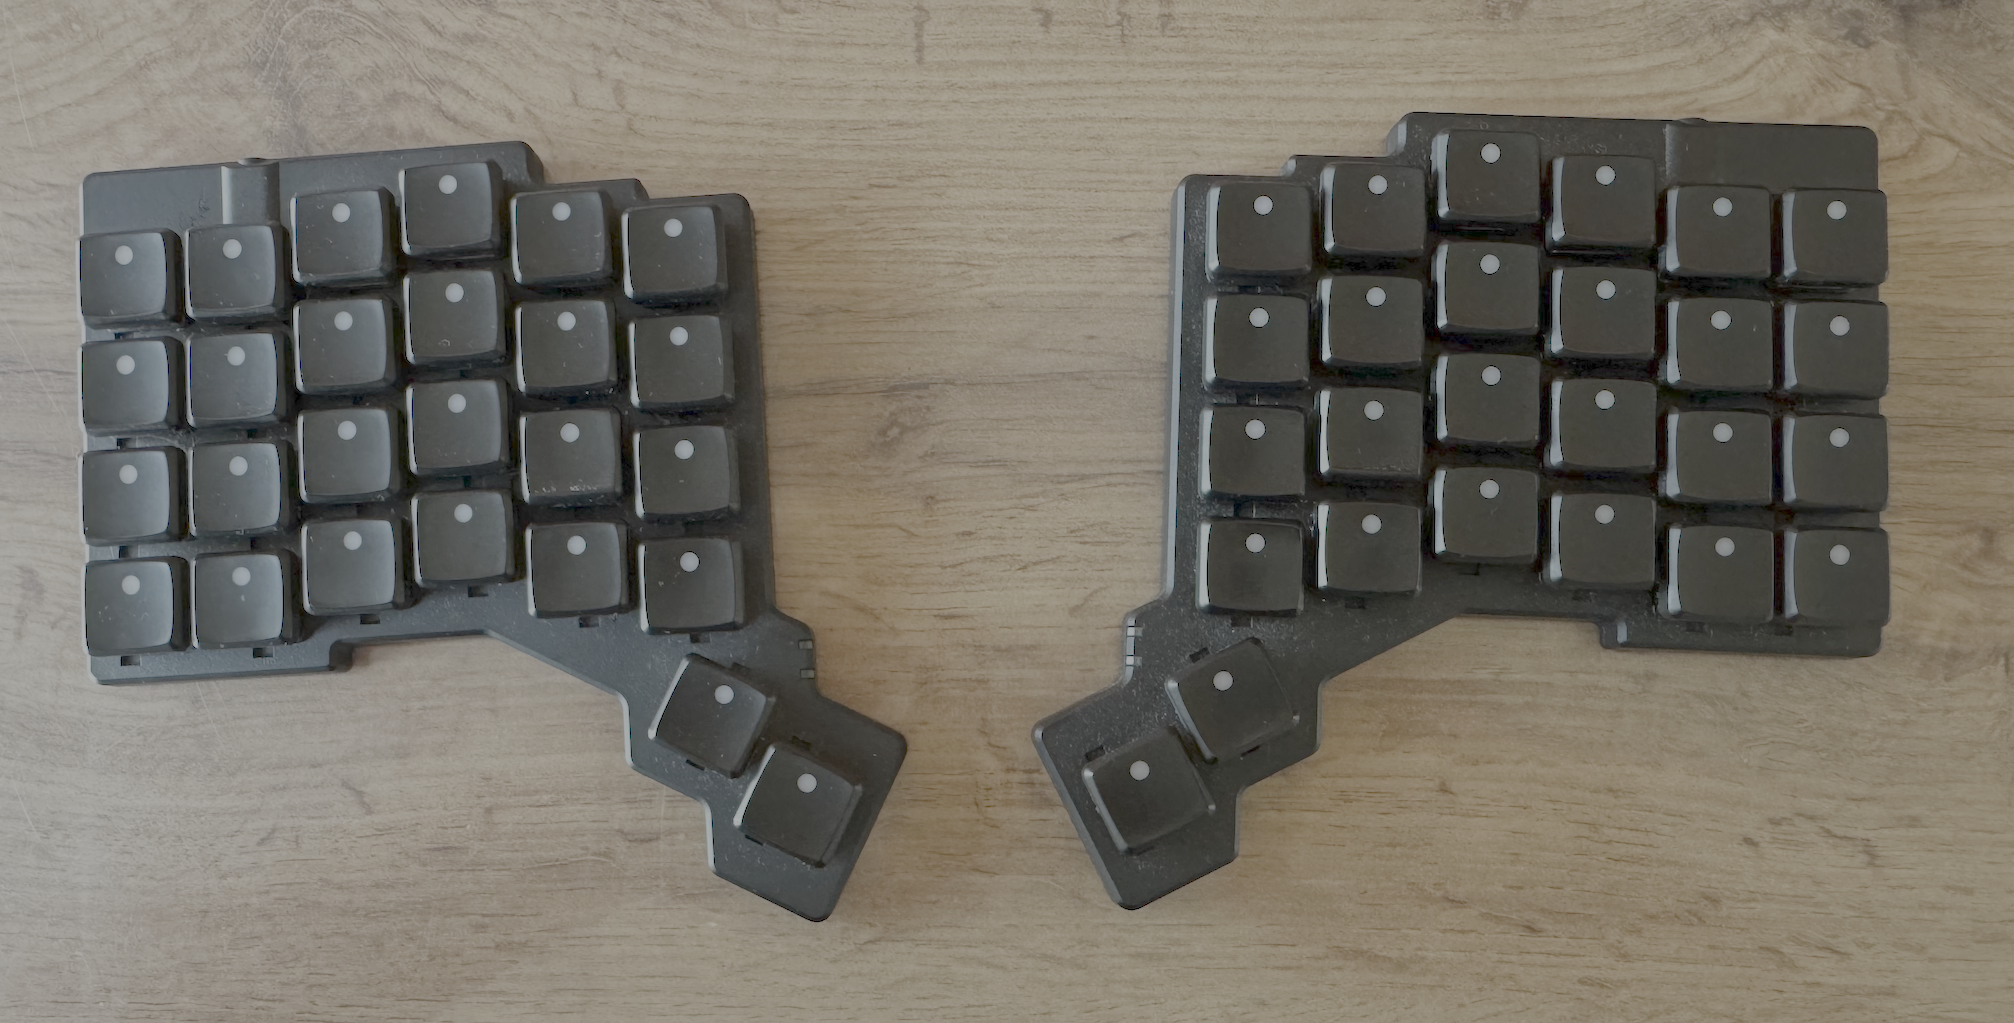
The keycaps and switches have to come off first, so you have a level surface when you flip the keyboard over to remove the case and PCB. Before I pulled out the great Kailh Sunset switches from Lowprokb, I gave the whole board a dusting with a soft brush, as I didn’t want any dust or grime getting onto the PCB.
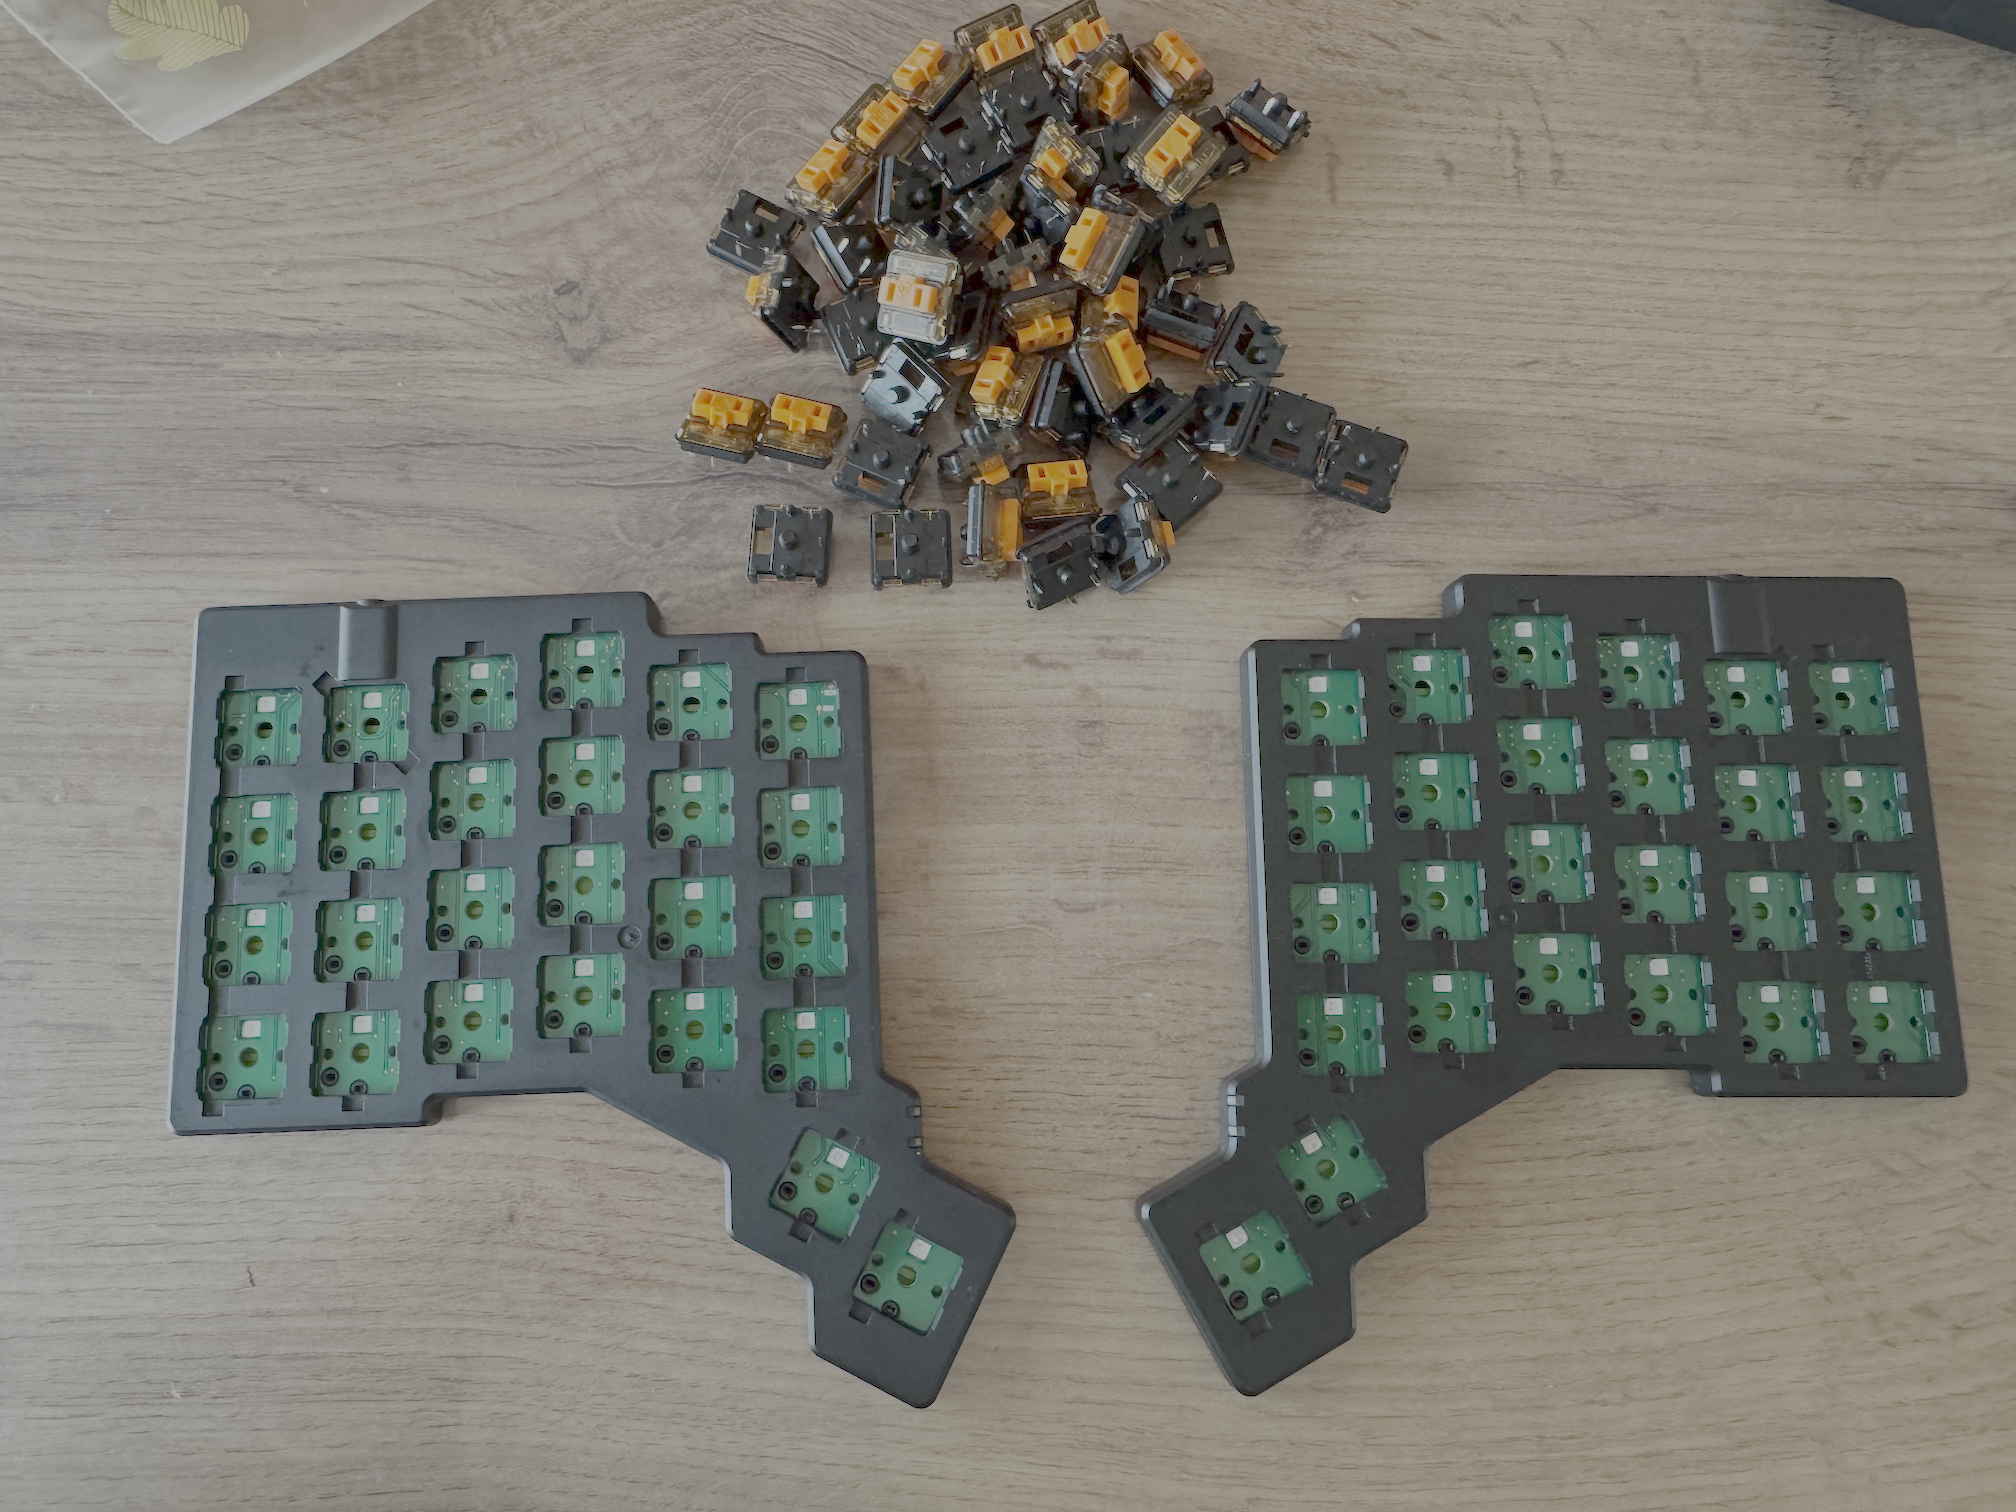
The Voyager comes apart fairly easily, except for the base sticker, which is held onto the metal backplate by a very solid amount of glue. I put some IPA on it and peeled it off, and that did the trick. I then cleaned the entire metal base with IPA once more.
With the sticker off, I had access to all the screws holding the case together. There are 10 screws per side holding the metal base plate to the plastic top plate. The base plate comes off easily if you pop it up from the thumb cluster corner. I was surprised by how heavy it actually is. Good quality right there.
The green PCB cover was easy to remove too. It lifts straight up and exposes the PCB.
At this point, I took note of the piece of translucent plastic that helps light up the Voyager’s status LEDs. I carefully removed it and set it aside. I then gently removed the PCB, wrapped it in paper and stored it in a separate zip-lock bag. The metal base plate, screws and green PCB cover went into a third zip-lock bag.
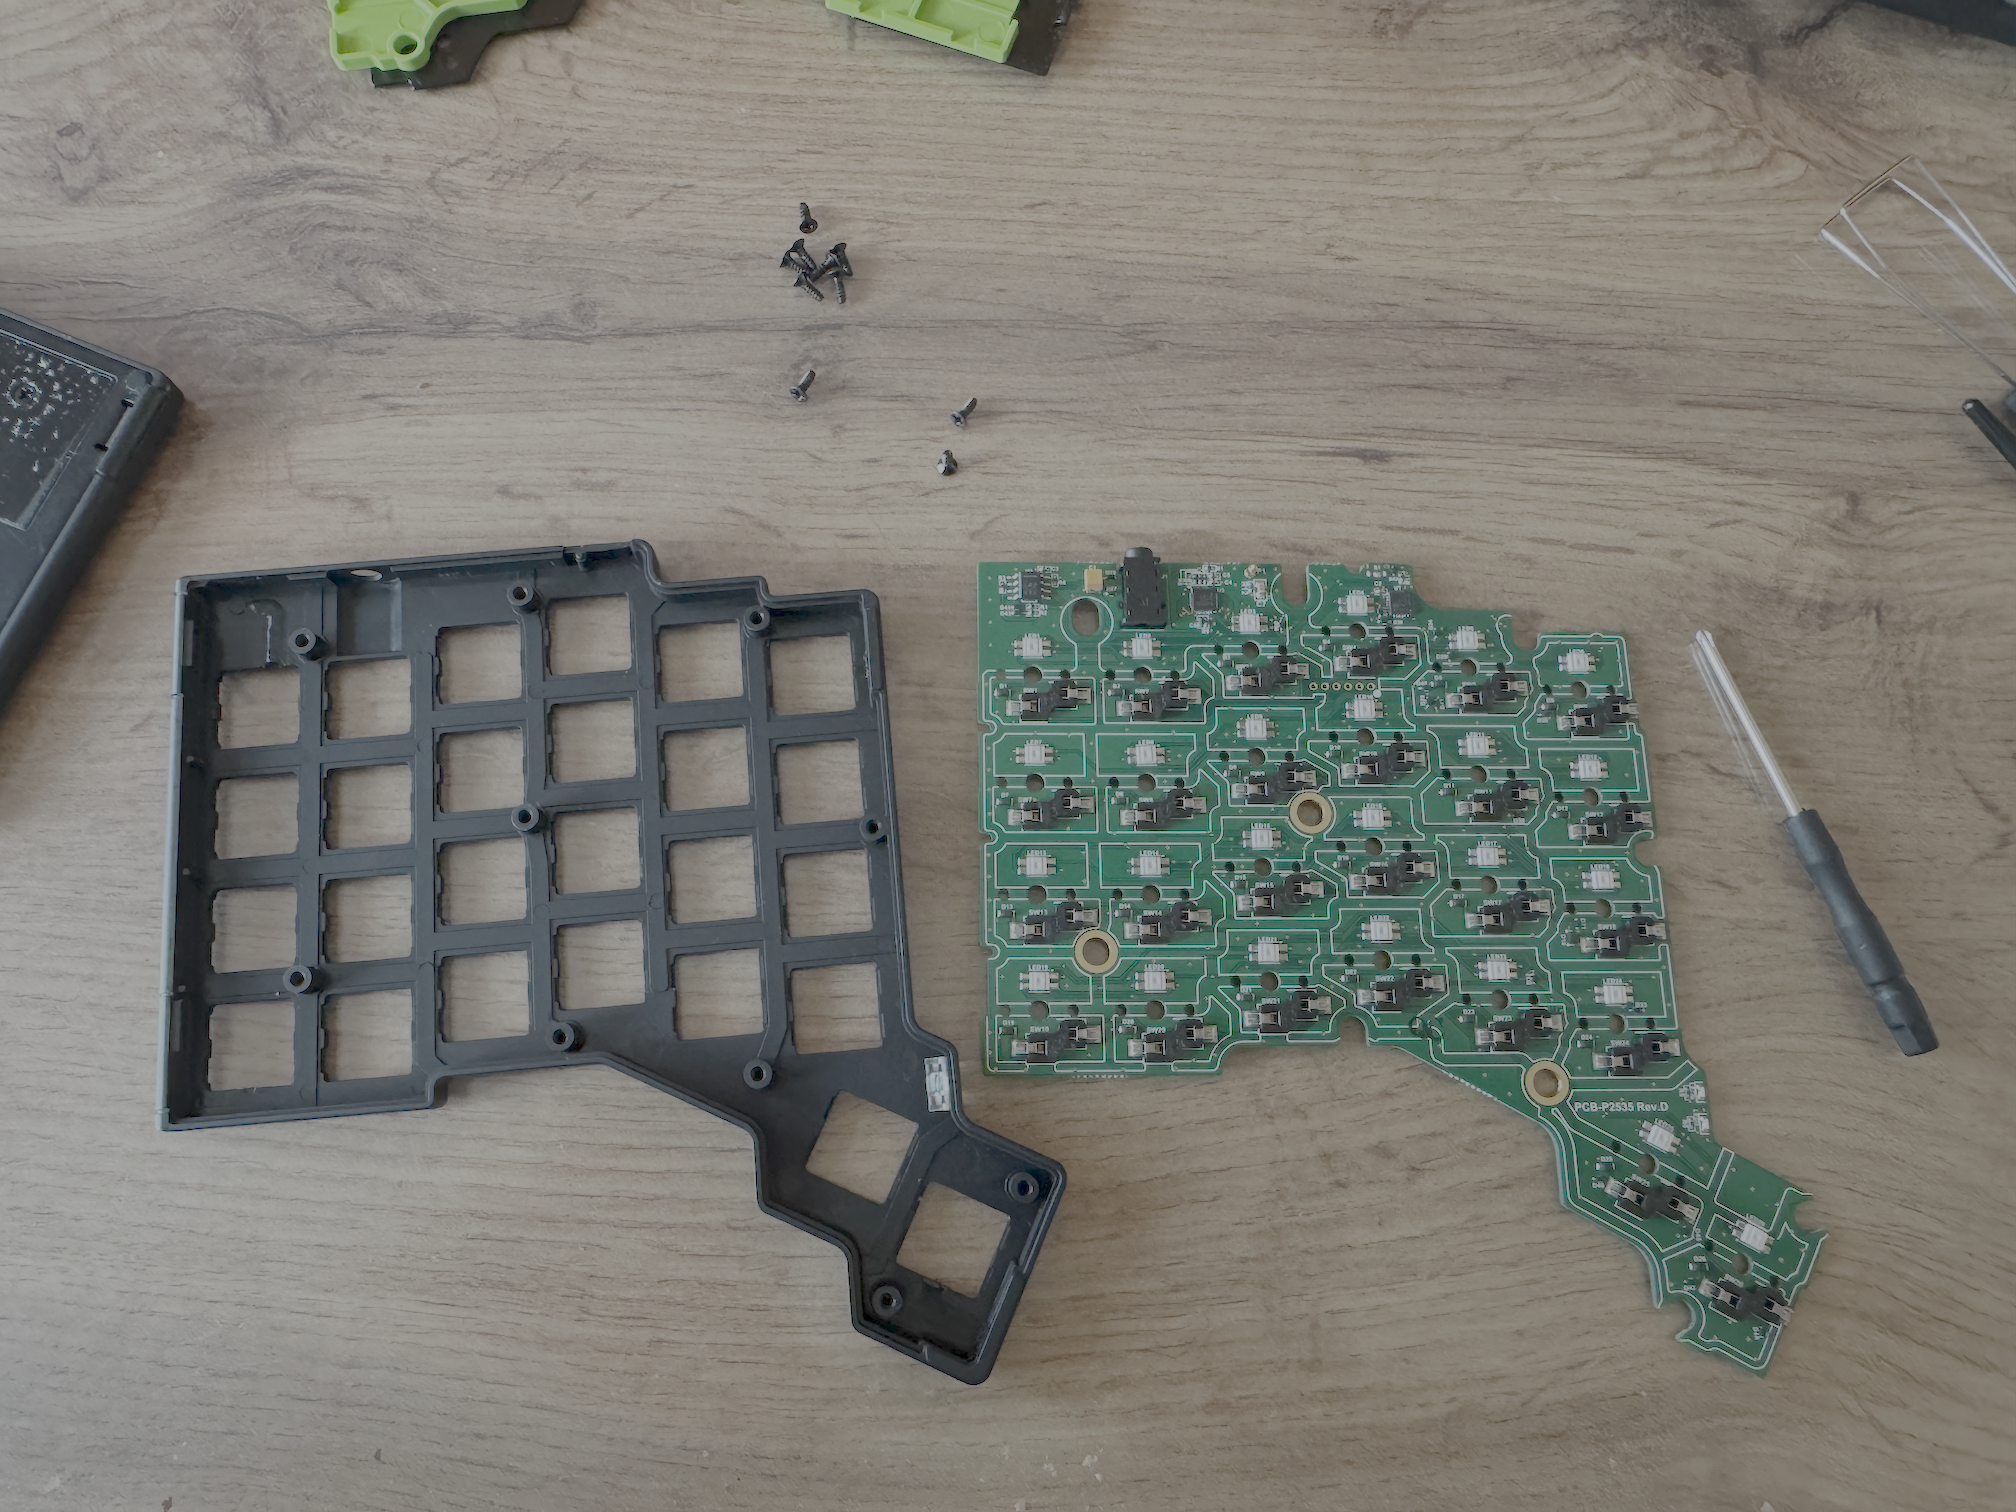
At this point I had three zip-lock bags, containing:
- Keycaps and keyswitches;
- Metal base plate, PCB plastic cover, screws and the translucent LED plastic; and
- PCBs wrapped in paper.
Disassembled!
Priming
Following Jo’s walkthrough, I gave the two top plates a thorough clean before doing anything else, as I wanted the surface free of anything that could compromise the paint job. I mostly used IPA, and cleaned every part of the top plate, including the switch sockets.
I then went over the top plate gently with 1500-grit sandpaper in a light swirl. This gives the primer something to grab onto, so it adheres better.
I gave the board a second clean at this point to get all the debris off. It now had a slightly rough texture compared to the original feel of the Voyager, which was quite smooth. With that, I was ready to prime.
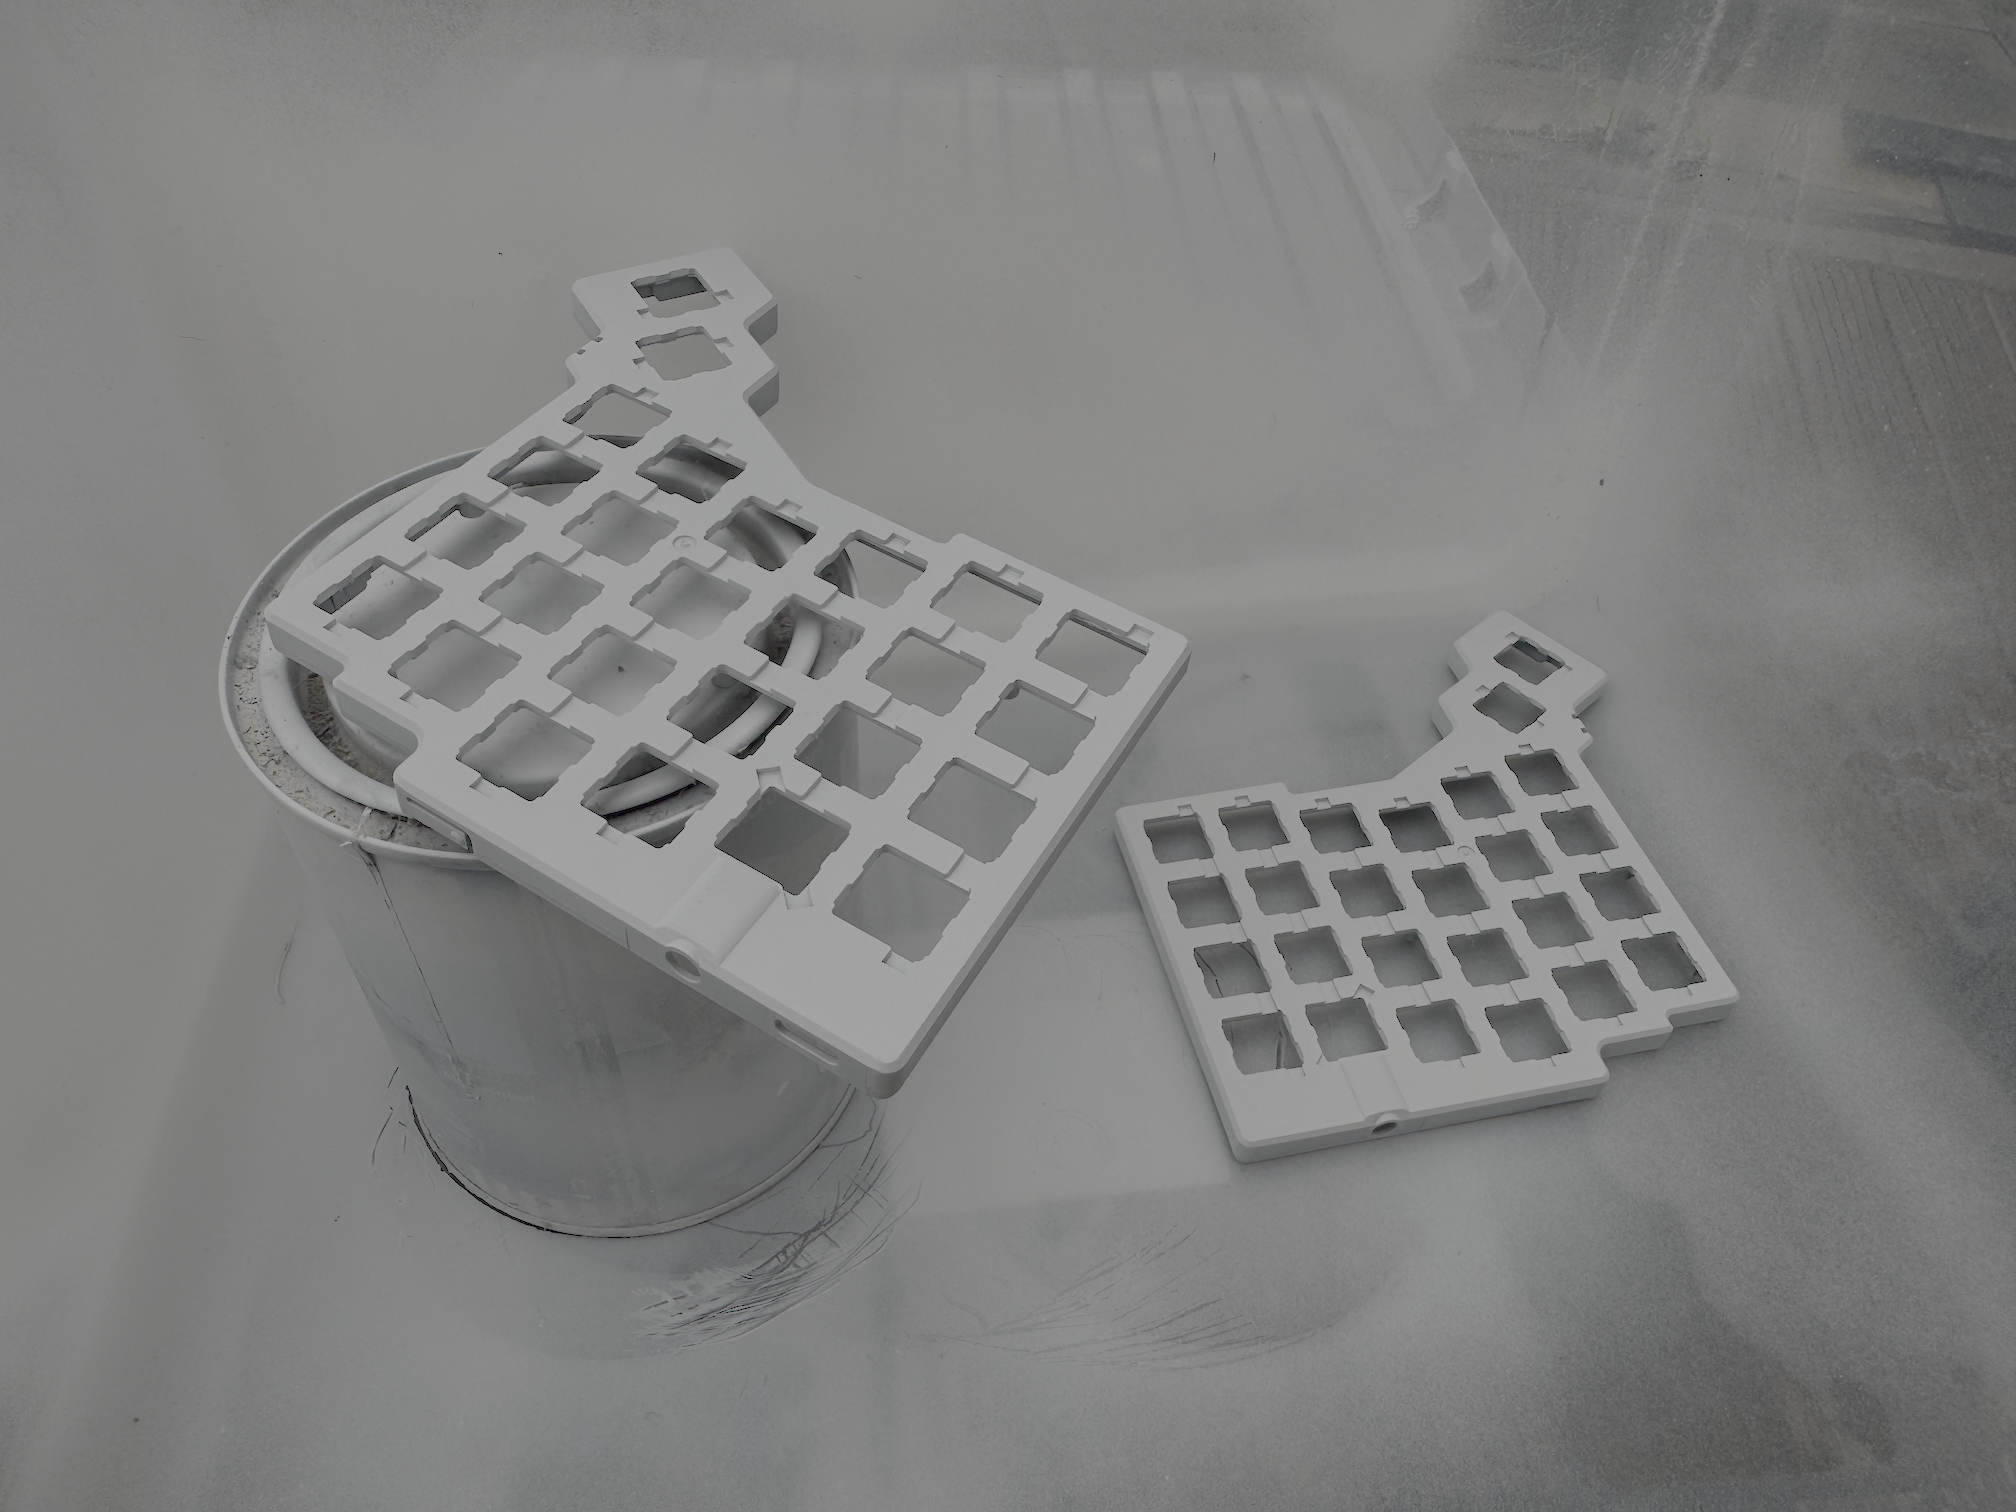
Priming was fairly simple. It just took a few days, as I wanted three coats of primer and each coat needed 24 hours to fully cure. If I were going for a white Voyager, I could have stopped here. So here’s a tip for anyone who wants a white Voyager: prime it, spray it white, and you’re done. Very simple!
Painting and Clear Coat
Like the priming, the painting took just as long, as I wanted to do about three light coats in total, with each coat taking 24 hours to fully cure. I should mention that I used a different brand for the colour than for the primer and clear coat: Rust-Oleum for the primer and clear coat, and Kobra for the orange. This matters because the two brands put out very different amounts of paint when you start spraying. I barely pressed down on the Kobra nozzle and it had almost covered the entire keyboard. It has a much wider spray and puts out a lot of paint on the first press. It turned out fine, since I’d started by spraying away from the board and then moved on to quick light coats, but I was surprised by how little I had to do to get full coverage.
Turning the Voyager around to reach every angle was the fiddly part. I tried Jo’s smoothie straw trick, but found it hard to move the board around, so I eventually settled on sitting it on an old paint can so I could turn it with ease. Once the colour was done, I started on the clear coat. I only went for two full-cure coats this time, as I did multiple light coats within each 24-hour period, per the Rust-Oleum instructions.
After leaving it for a final 24 hours, I was very excited to have the keyboard back and started reassembling. A good general guide to follow is the ZSA Teardown, which shows you how to put the board back together.
I refitted the LED plastic, PCBs, PCB cover and backplate, screwed everything back down, and had the whole keyboard back together.
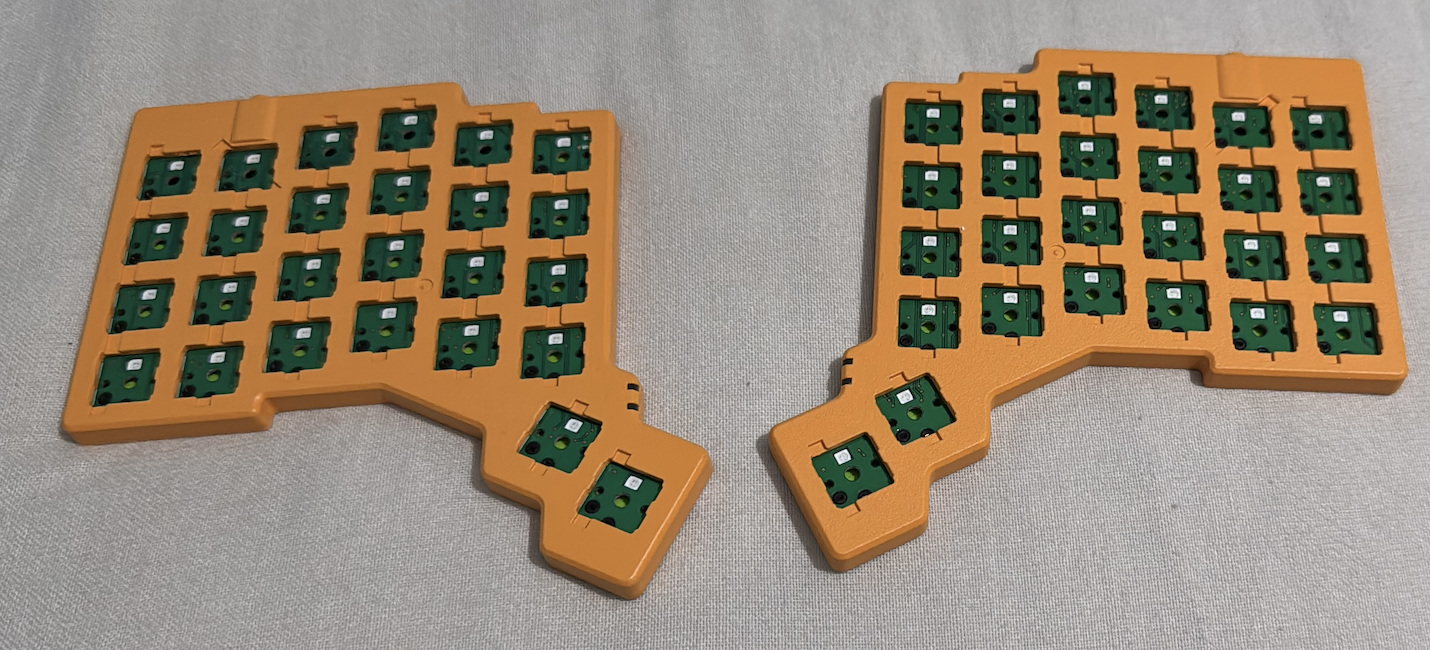
I popped the switches and keycaps back on and, presto, a unique Voyager.
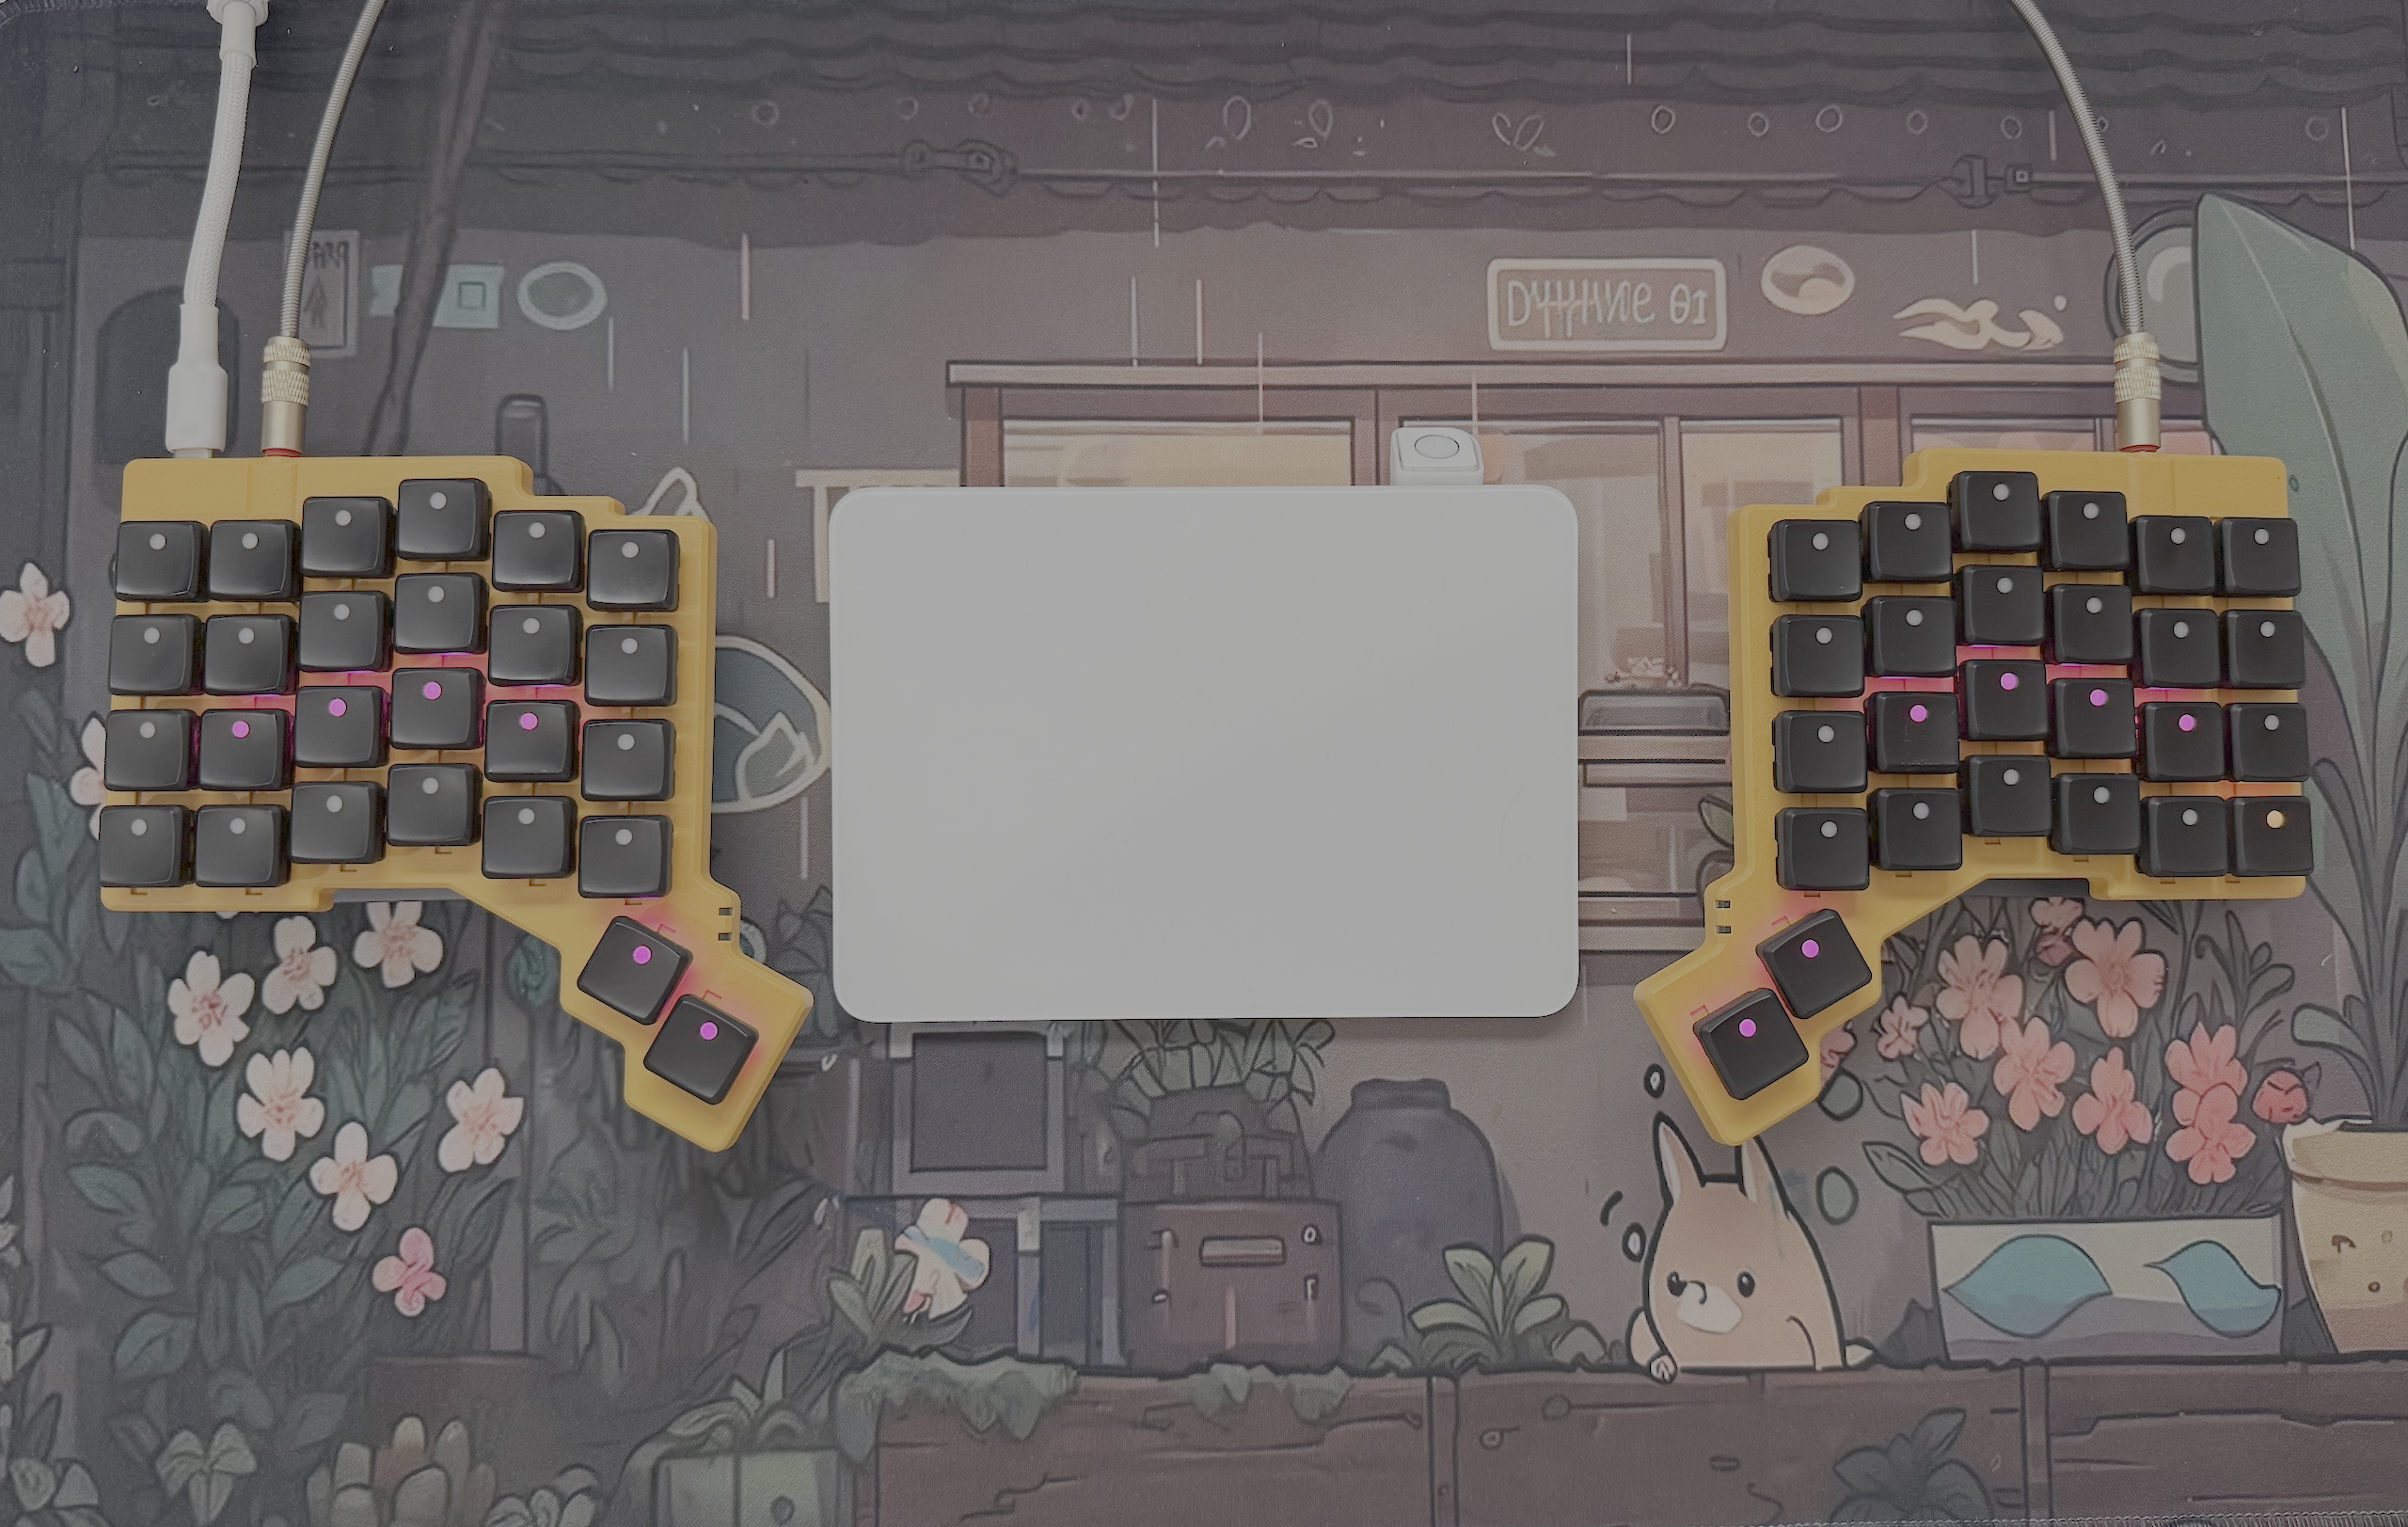
I’ve ordered some orange MBK keycaps from fkcaps to complete the build, but for now, I’m happy to see the keyboard back in action.
My kids have already asked about painting it another colour, and with what I know now, I’ll gladly change it up at some point.
It was a great experience. It gave me a peek at how the ZSA Voyager is put together, and I’m happy with how well it’s made!